How to Make the Employee Hierarchy Chart Using React
How to Make the Employee Hierarchy Chart Using React

How to Make the Employee Hierarchy Chart Using React
Quick Summary
Organizational Chart (aka. Org. Chart or Organization Chart or Hierarchy chart) is a diagram that shows the structure and hierarchy within a company or department. You can find a lot of packages to do so, creating your own is always awesome feel.
Introduction
This Employee Hierarchy Chart is completely based on the CSS and HTML but we rendering the component recursively. I am leaving the demo and the project link for your reference
Demo : https://6xdus.csb.app/
Project Link : https://github.com/NaveenDA/react-org-chart-tutorial
Step 1: Init Project
Create the react app using the create-react-app by running this command
npx create-react-app react-org-chart-tutorial

Step 2: Create the data
I am gonna use a general parent-child-… data structure
Step 3 : Render the Component
Create a simple recurivly-rendered component
import * as React from "react";
import data from "./data.json";
const Card = (props) => {
  return (
    <>
      {props.data.map((item) => (
        <>
          <li className="card">
            {item.name}
            {item.children?.length && <Card data={item.children} />}
          </li>
        </>
      ))}
    </>
  );
};
const EmployeeChart = (props) => {
  return (
    <div className="org-tree">
      Employee Chart
      <Card data={data} />
    </div>
  );
};
export default EmployeeChart;</span>
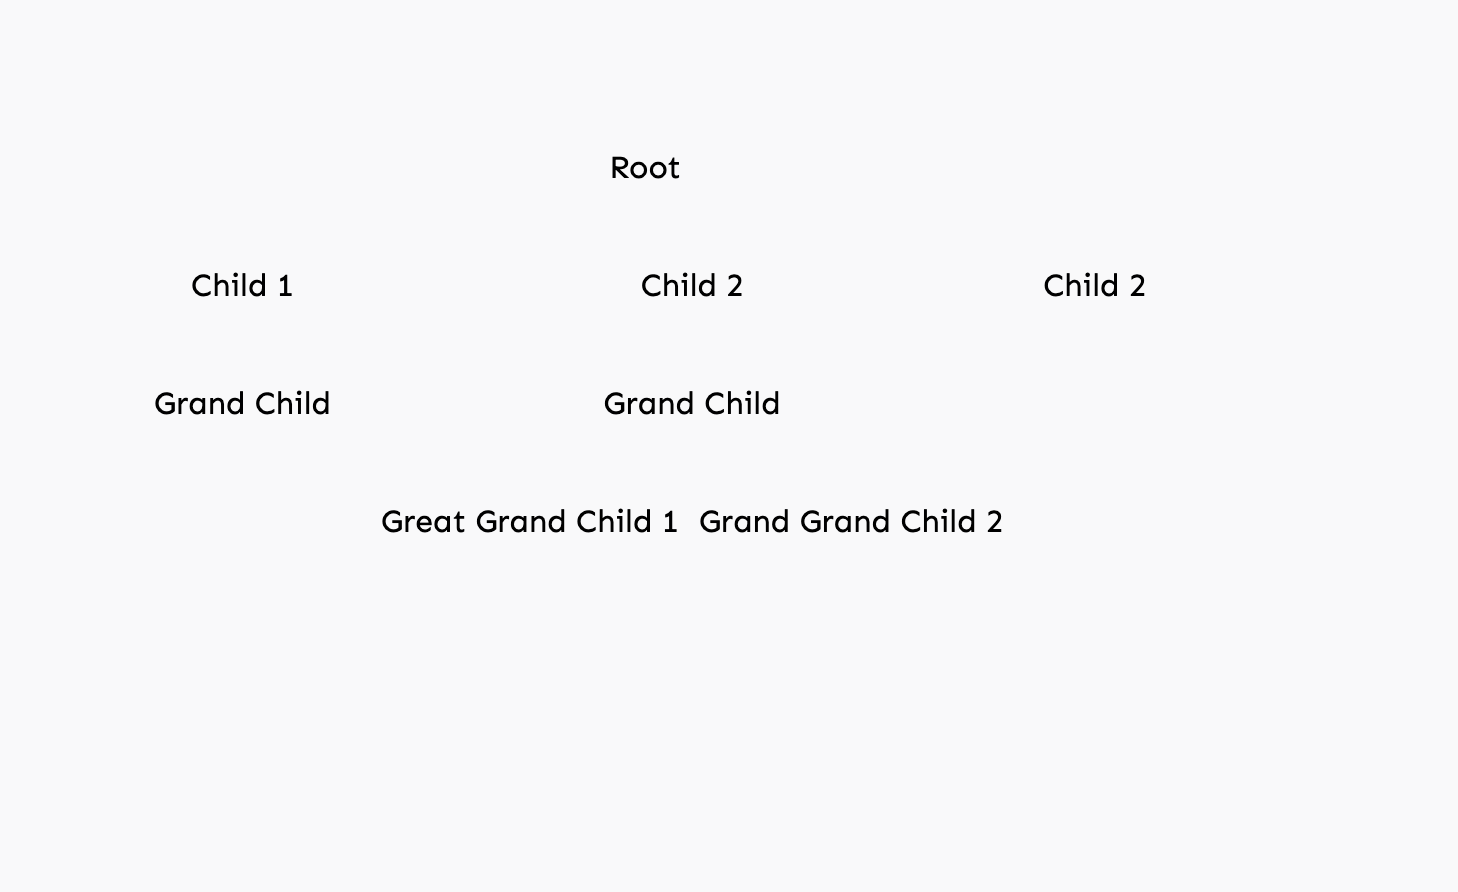
Now this will render the output, something like these

Inorder make the every li side by side, we are using the float:left properties and remove the list-style
.org-tree li {
  float: left;
  text-align: center;
  list-style-type: none;
 }
This will produce the output like these
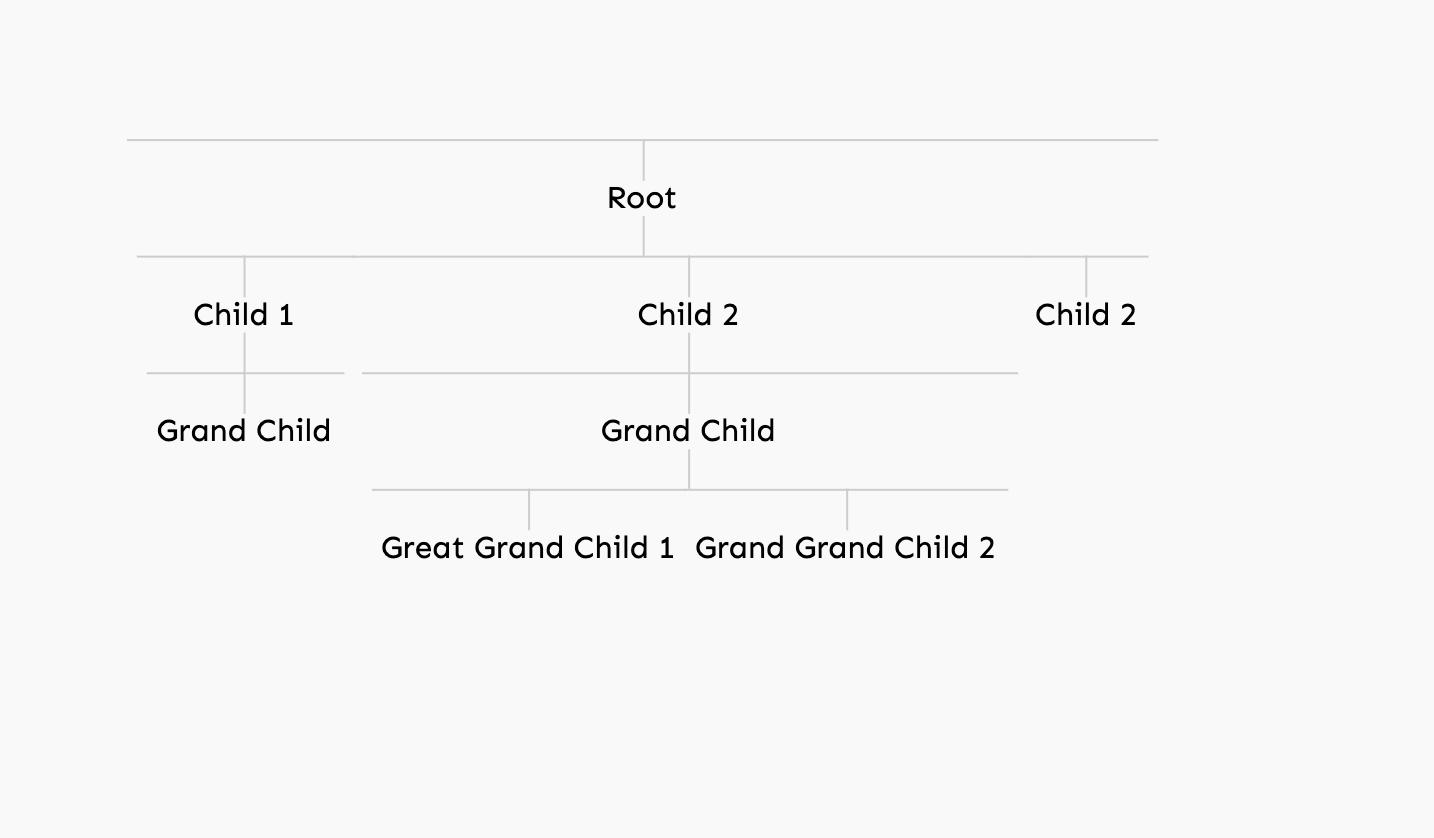
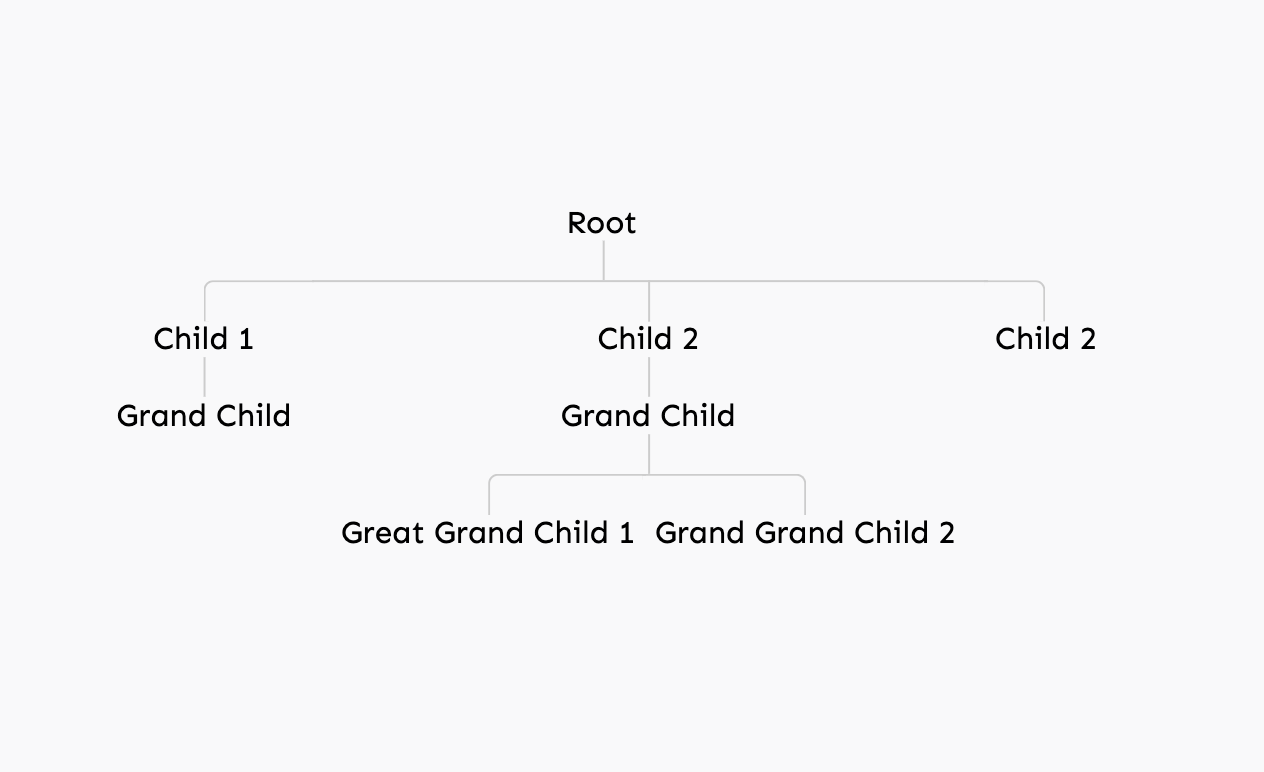
Now need to add the upper line for the every ul . By using thebefore pesudo element, we can add a line above each li nodes.
And also, we can also before and after line for each and every li . This will create an output like these.
.org-tree li::before,
.org-tree li::after {
  content: "";
  position: absolute;
  top: 0;
  right: 50%;
  border-top: 1px solid #ccc;
  width: 50%;
  height: 20px;
}
.org-tree li::after {
  right: auto;
  left: 50%;
  border-left: 1px solid #ccc;
}
Still, we need to remove the extra border on the first and last elements
.org-tree li:only-child::after,
.org-tree li:only-child::before {
  display: none;
}
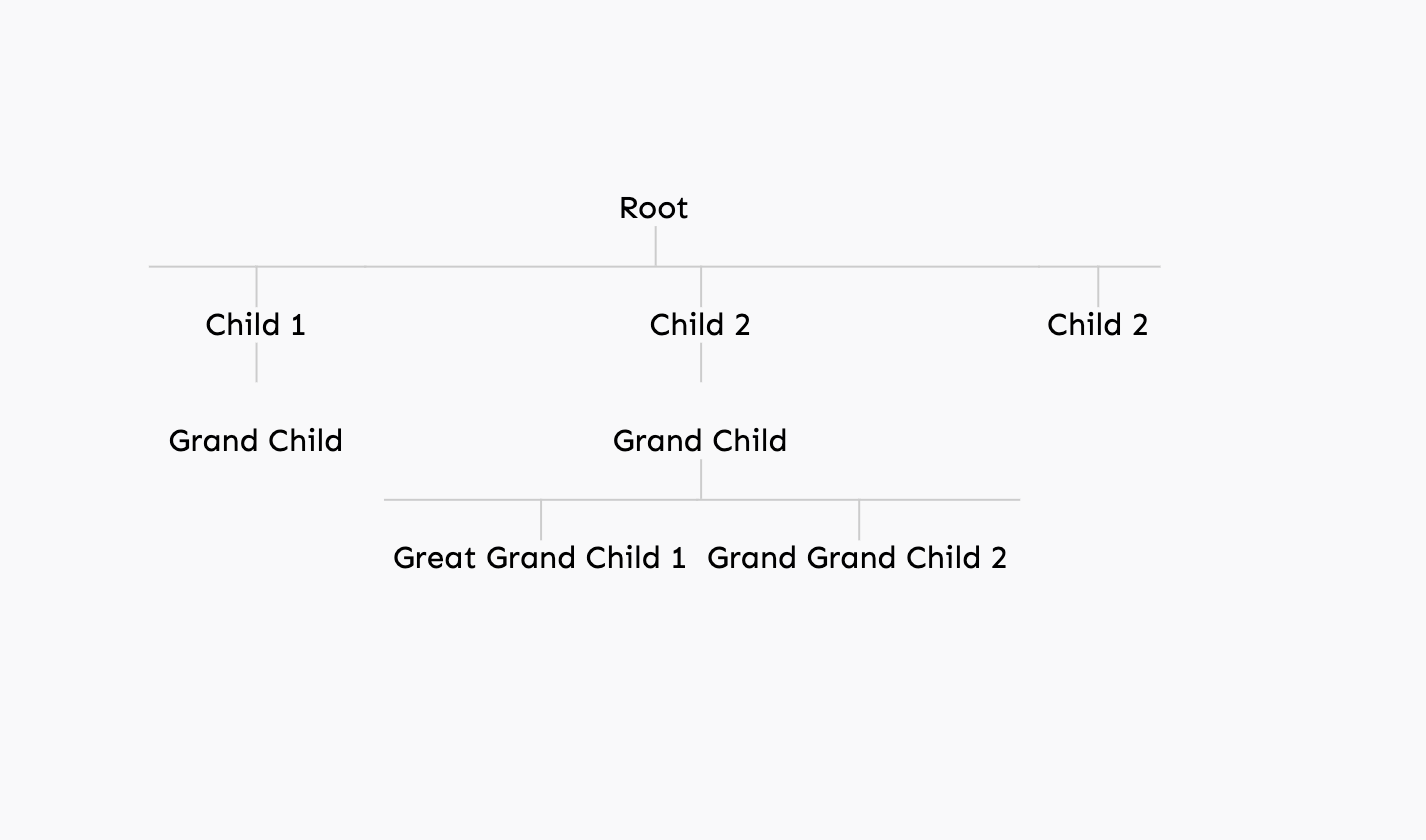
Let’s remove the left and right borders
.org-tree li:first-child::before,
.org-tree li:last-child::after {
  border: 0 none;
}
Now, need to add a border on the last child
.org-tree li:last-child::before {
  border-right: 1px solid #ccc;
}

Now, we can add a border-radius for line
.org-tree li:last-child::before {
  border-radius: 0 5px 0 0;
}
.org-tree li:first-child::after {
  border-radius: 5px 0 0 0;
}
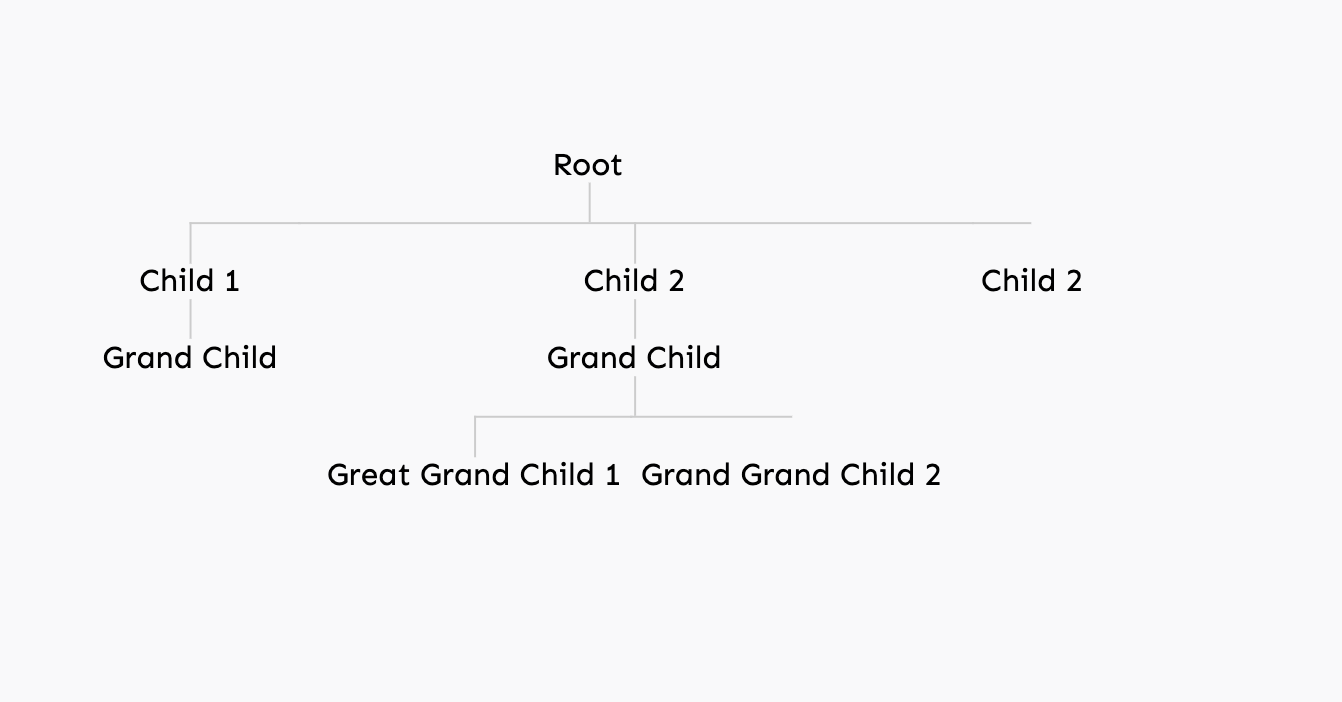
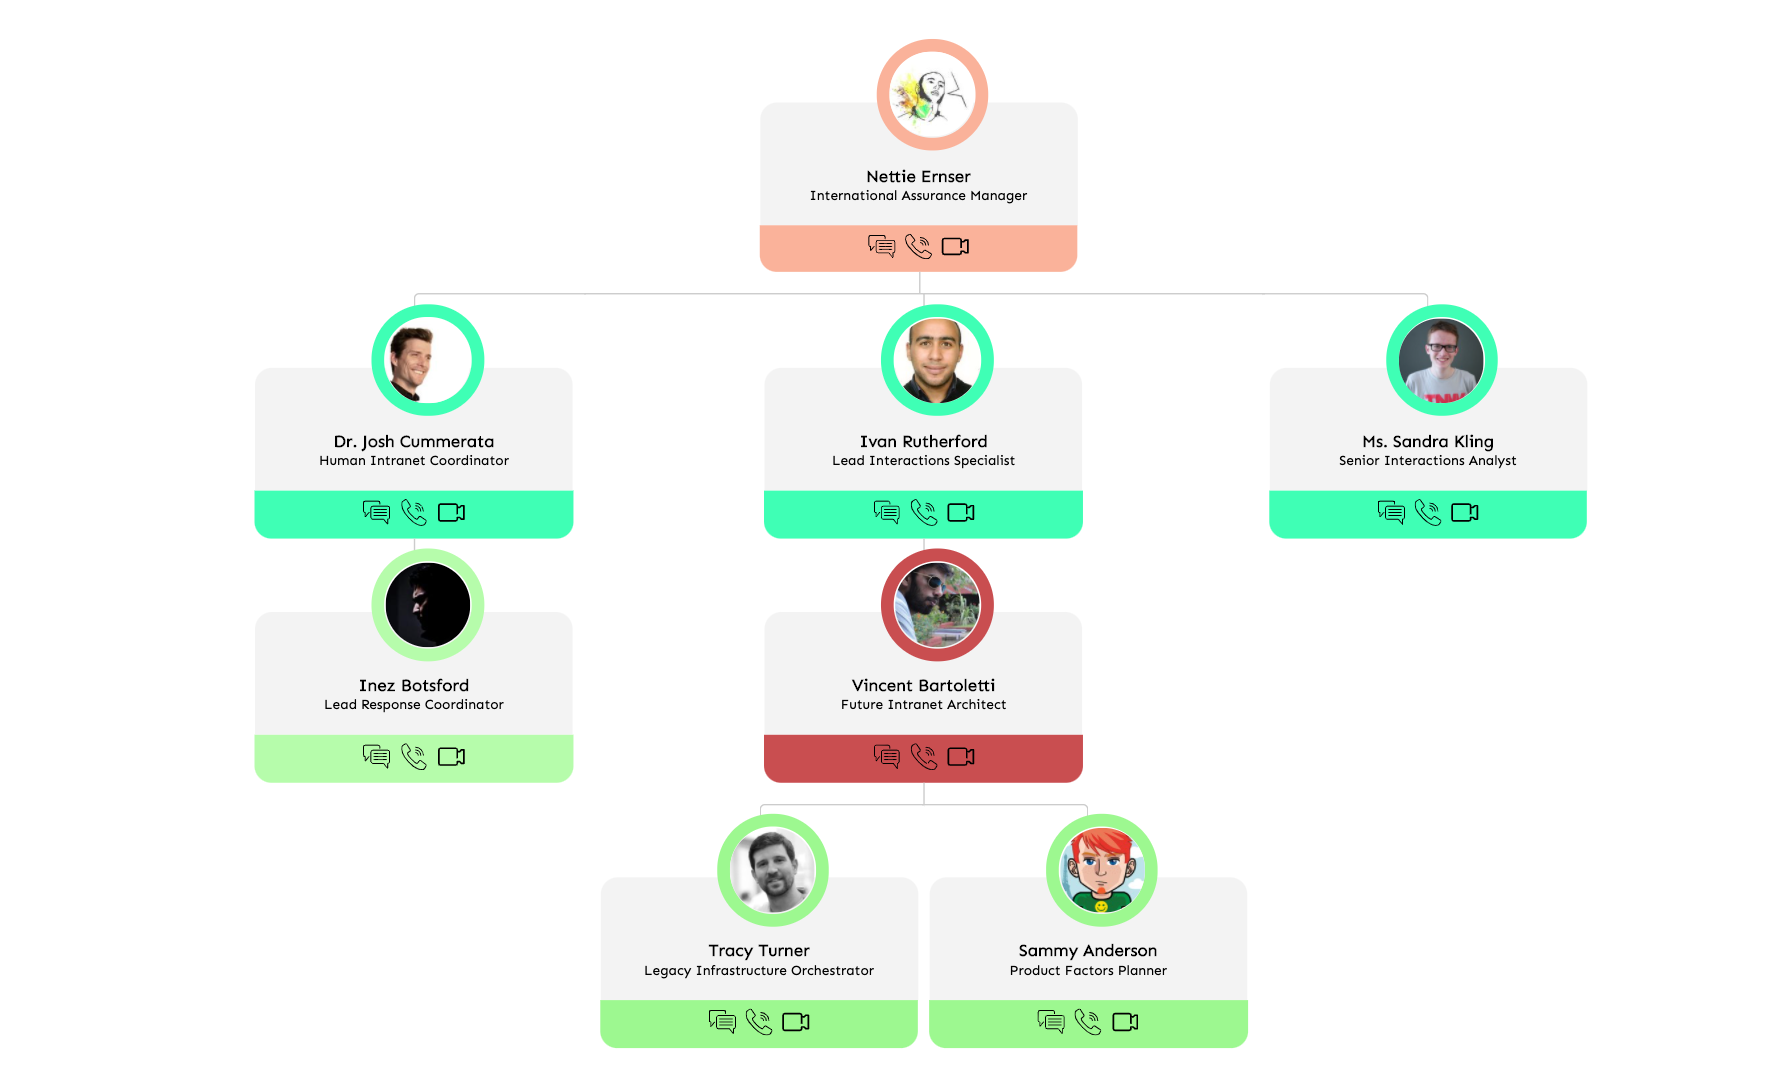
Thats it now, we have a basic employee-hierarchy chart, let us make beautiful.
By replacing the {item.name} into <CustomComponent > we can render any data, like in this demo data is generated by using the faker.js.
Thanks for sticking until the end :)
P.S. 👋 Hi, I’m Naveen DA! If you liked this, consider following me on twitter and sharing the article with your developer friends 🐋😀


